
GMiSU recommends a roof slope above 5 degrees for the three exterior roof products. The spacing table below is a starting recommendation and must be verified for the actual structure and local design loads.
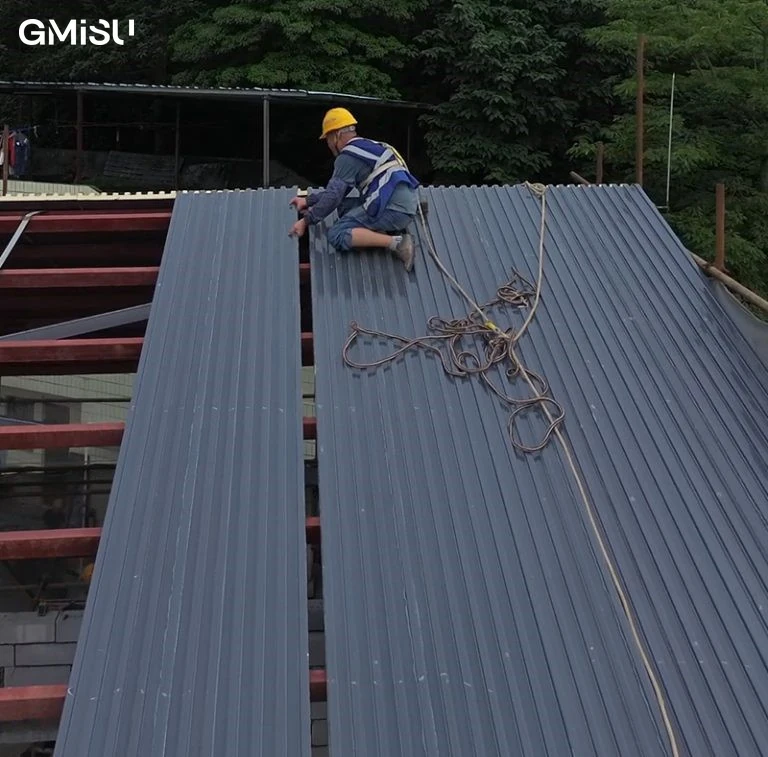
Recommended panel support spacing
| Roof product | Multi-span | Single-span | Typical applications |
|---|---|---|---|
| 365 mm modular | 0.8-1.0 m | 0.6-0.8 m | Pavilions, awnings and small carports |
| 45 mm large-format | 1.2-1.5 m | 1.0-1.2 m | Residential carports, patio roofs and commercial canopies |
| 65 mm large-format | 1.5-1.8 m | 1.2-1.5 m | Sunroom roofs, factories and large outdoor corridors |
Engineering checks that can reduce the spacing
- Wind uplift, especially at roof edges and corners where negative pressure can be substantially higher than field zones
- Snow load, maintenance access and other positive live loads that increase mid-span deflection
- Aluminum skin thickness and profile geometry, which affect section stiffness
- Single-span versus continuous multi-span support conditions
- Fastener pull-out resistance, purlin material, connection details and local code requirements
Common installation sequence
- 01
Confirm the roof layout
Review panel direction, support spacing, roof slope, drainage, penetrations and edge details before production.
- 02
Prepare the supporting structure
Check line, level, spacing and fixing suitability before lifting panels.
- 03
Engage panel joints
Align the tongue-and-groove or interlocking edges without damaging the protective surface film.
- 04
Install concealed fixings
Use the confirmed screws and connectors at the required support locations.
- 05
Complete weatherproofing
Apply sealant and custom flashings at ridges, eaves, walls, sides, corners and penetrations.
- 06
Inspect the finished roof
Check joints, fixings, drainage routes, surface condition and all weatherproofing details.
Available installation accessories
- Flashings
- Ridge caps, eave trims, wall flashings and side trims
- Drainage
- Gutters and downpipe systems
- Fixing
- Screws, connectors and sealant
- Documentation
- Project installation drawings
Confirm the right panel and specification with GMiSU.
Send your drawings, dimensions, quantity, color, destination and target schedule for project-based recommendations.